Manage Prerequisites
1.Adding Prerequisites
Steps to Add Prerequisites
Step 1. Navigate to the Prerequisites tab within a project to view the list of existing prerequisites.
Step 2. Click the Edit button to enable the option to add prerequisites. Fill in the required fields: Name, Value, Description, choose a file (if needed), and click the Save button to add the prerequisite.

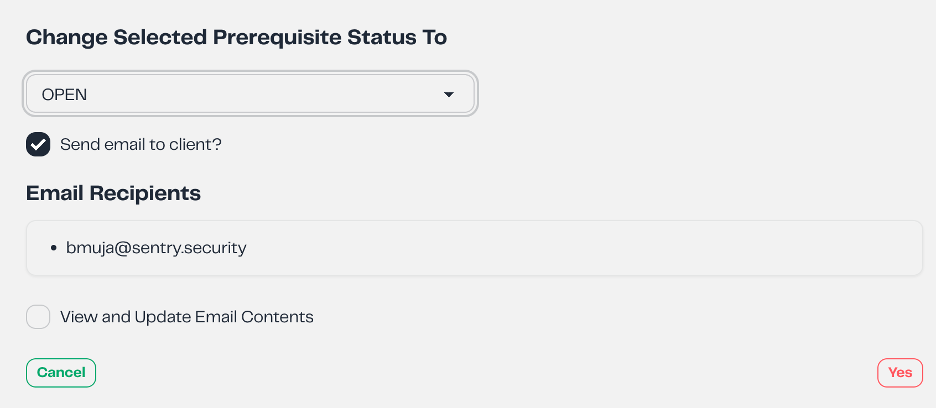
Once the prerequisite is added, change their status to Open for it to be visible to the client. To change the status click the Edit pen:

And then click the Change Status button. A pop-up will appear asking if you'd like to send an email to the client to notify them about this prerequisite, and whether you'd like to view the email content first:
Step 3. To add multiple prerequisites, click the New button. Each click will generate a new row where you can enter prerequisite details. Once all fields are filled, click Save to store the prerequisites.
2.Editing Prerequisites
Steps to Edit Prerequisites
The steps to Edit prerequisites are the same as when we Create one.
Step 1. Click the Edit button to make the data rows editable.
Step 2.Modify the necessary fields, then click Save. A confirmation alert will appear—click Yes to confirm the changes or Cancel to discard them.
2.Deleting Prerequisites
Steps to Delete Prerequisites
Step 1. Click the Edit button to make the data rows editable.
Step 2.Click the Trash button on the right side,then click the Save button. A confirmation alert will appear click Yes to confirm the changes or Cancel to discard them.
Clients will have read-only access to the prerequisites in the Client Portal, meaning they cannot create, update, or delete them.